Once upon a time, we purchased a house. It needed a lot of help. The floor plan was a jumble. The electricity was outdated. The plumbing consisted of aging cast iron pipes and one in-room vented pipe (i.e. no exterior venting for the fixtures). The carpet was worn. There was water damage and rotting studs. This is the story of what was and what is. (If you're not much of a reader, just click on the first photo in each post, and you can just flip through the photos.)


A side-by-side comparison

The original floor plan
The new floor plan
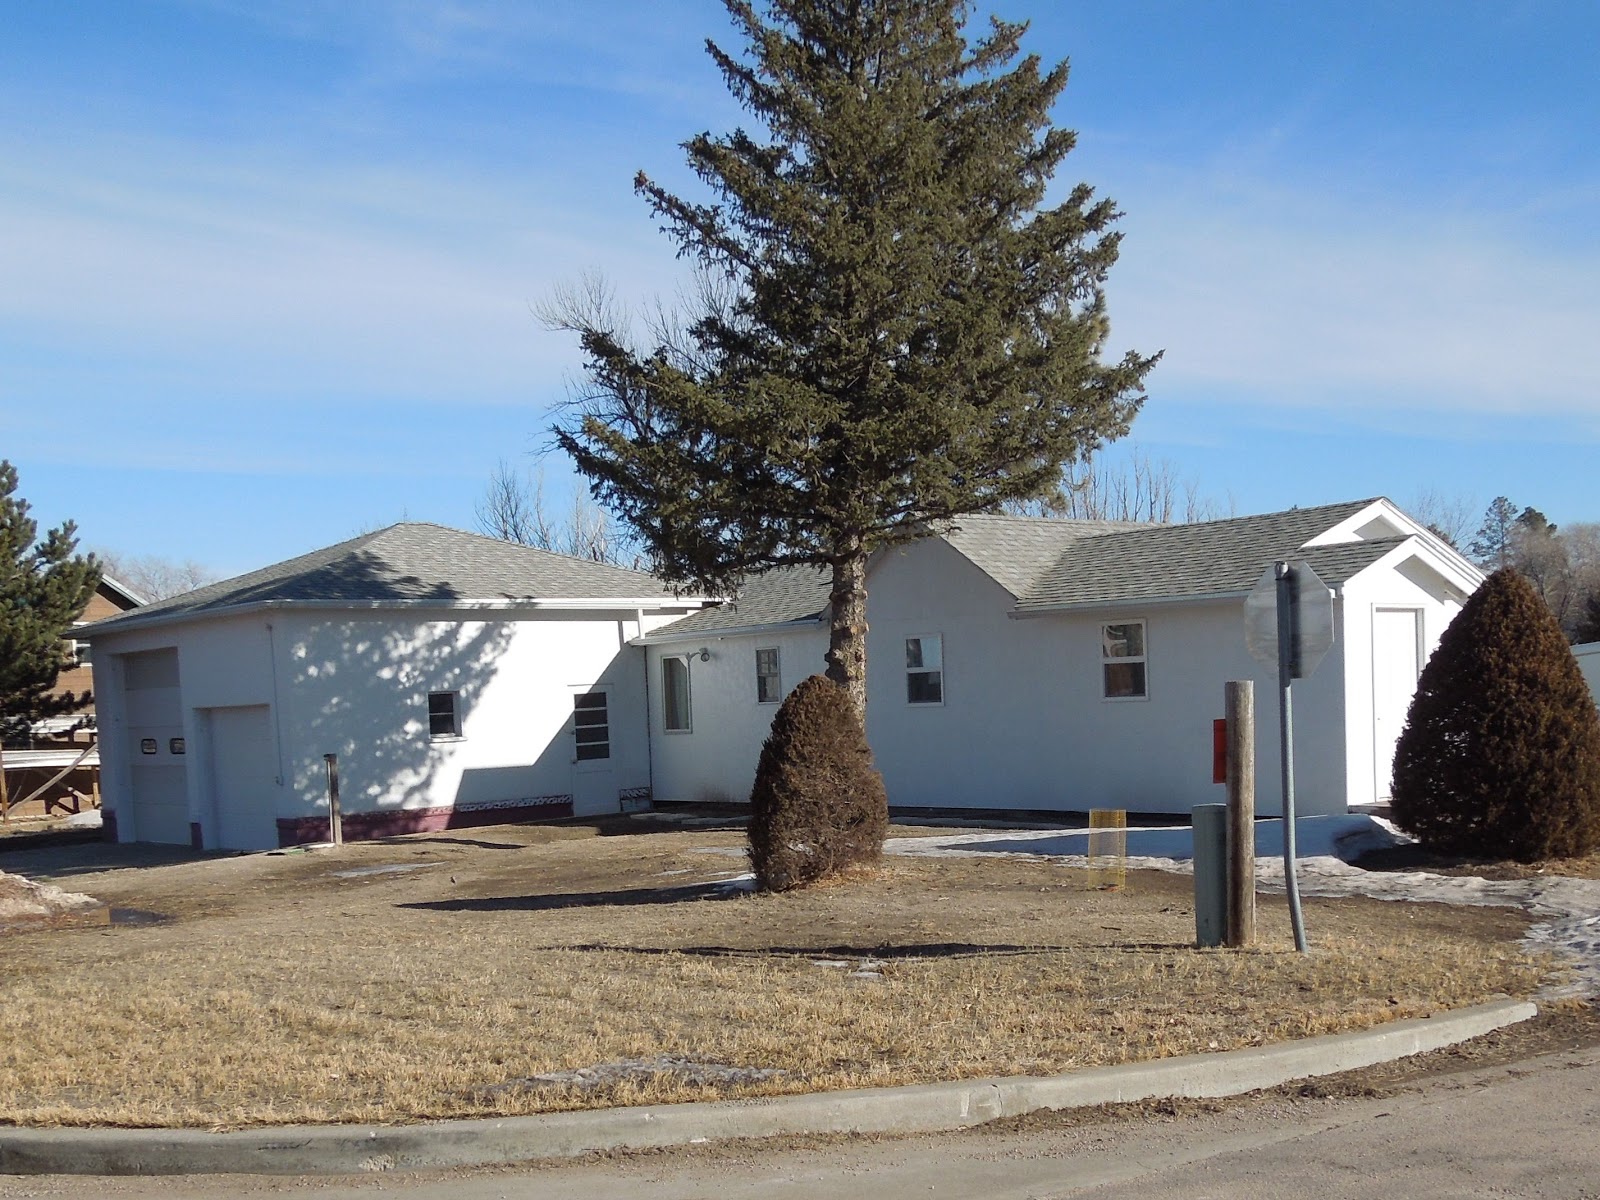
Click here to see the exterior photos
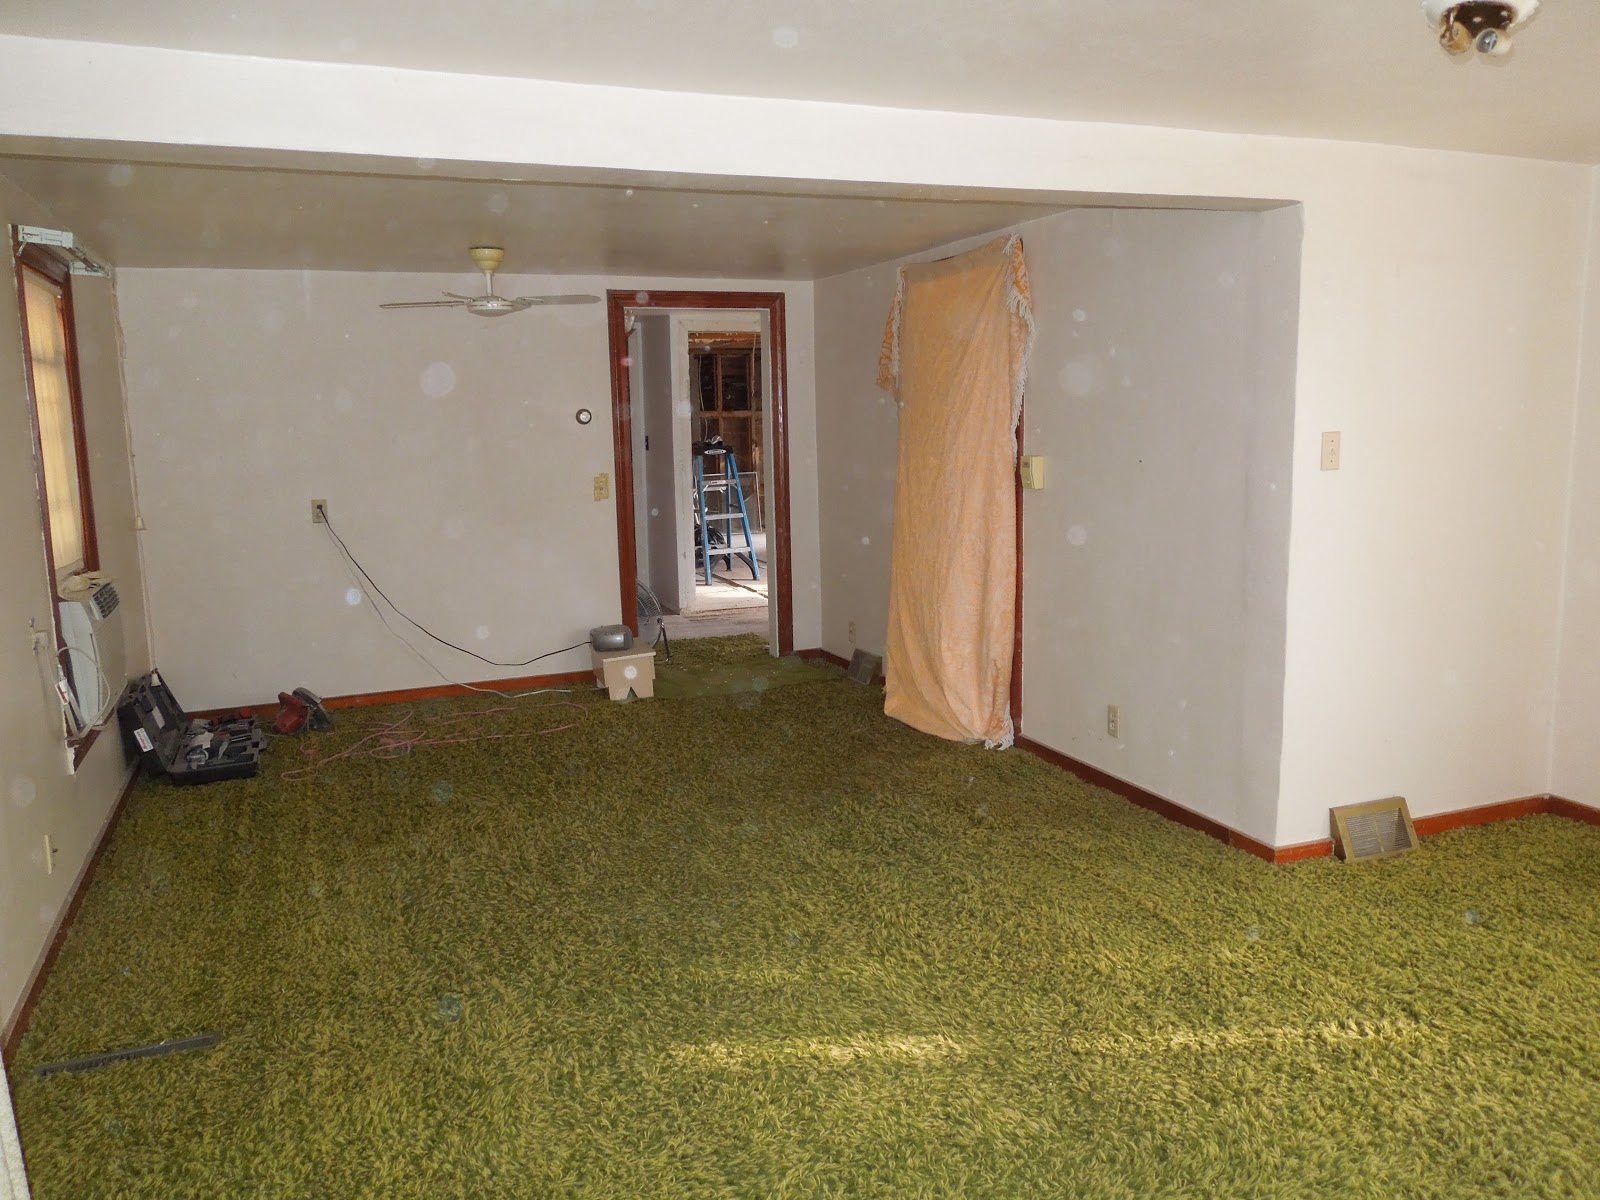
Click here to see the living room
Click here to see the south bedroom
Click here to see the hallway
Click here to see the bathroom
Click here to see the kitchen/dining area
Click here to see the north bedroom
Click here to see the basement
Click here to see the exterior photos
Click here to see the living room
Click here to see the south bedroom
Click here to see the hallway
Click here to see the bathroom
Click here to see the kitchen/dining area
Click here to see the north bedroom
Click here to see the basement